
Working Ferrets - Skinning and Jointing
All the photographs on this page were taken by Sheila Crompton.
Stuart Taylor kindly did the skinning and jointing.:-
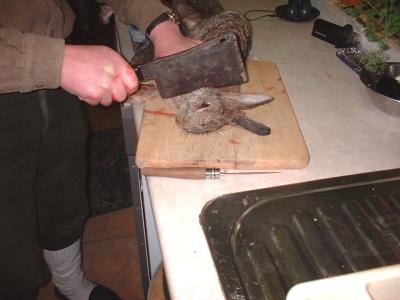
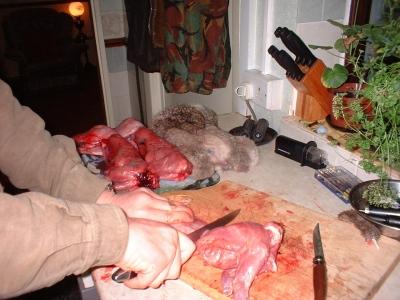
(above) 1. Remove head.
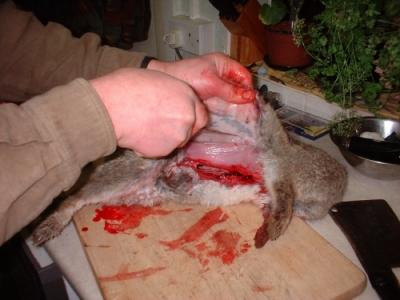
(above) 2. Using a sharp knife, carefully part the skin from the body of the rabbit.
(above) 3. Make a small cut behind the rabbit's front legs to aid removal of the skin.

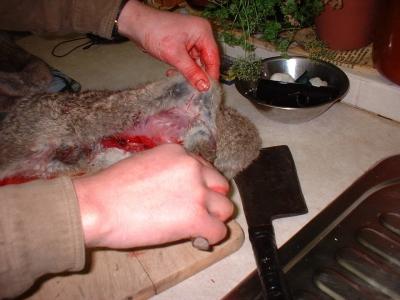
(above) 4. Ease your fingers between the skin and the rabbit until it is all free from the back.

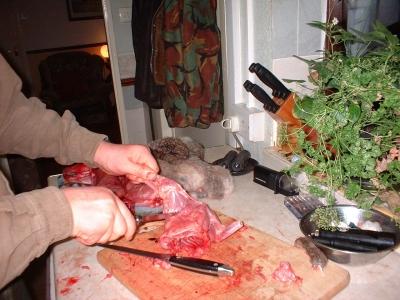
(above) 5. With the forepart of the rabbit facing you pull the skin towards you to free it from the front legs.
(above) 6. Turn the rabbit round and firmly take hold of the skin and pull towards you to free the hind quarters.
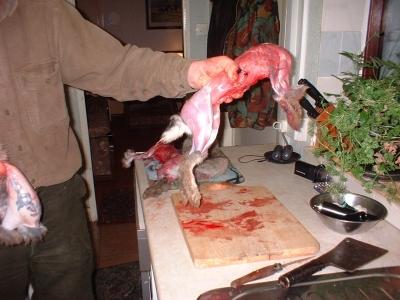
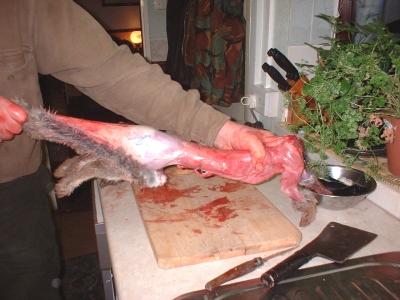
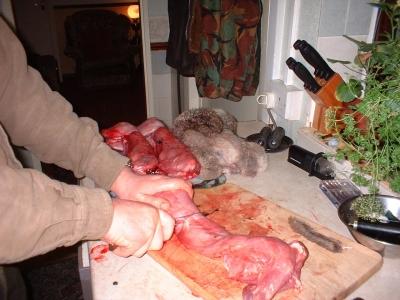
(above) 7. The rabbit with the skin removed and just the scut and feet to be dealt with.
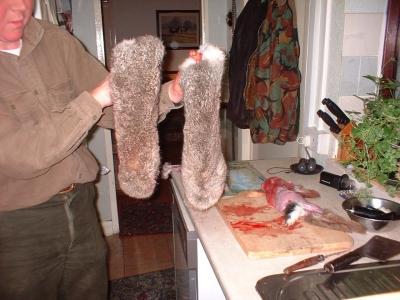
(above) 8. Two skins which have been removed.

(above) 9. Remove all the feet and the scut.
(above) 10. Remove lungs and neck from the chest cavity.
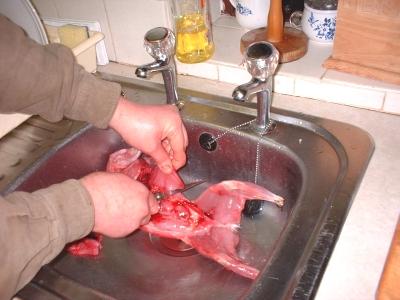
(above) 11. Trim the skirt from the abdominal opening.
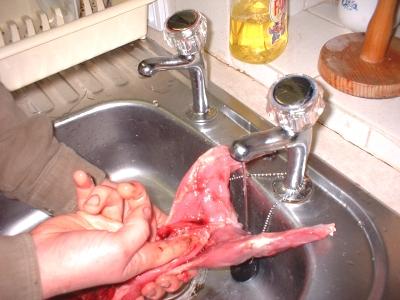
(above) 12. Remove faeces by pushing out with a finger.
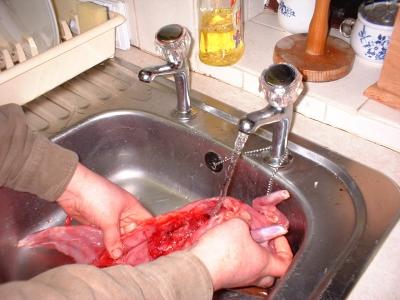
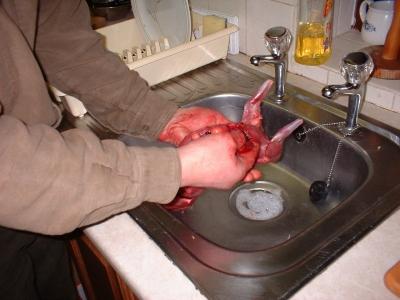
(above) 13. Wash out the inside of the rabbit.
(above) 14. Jointing - Remove hind quarters.
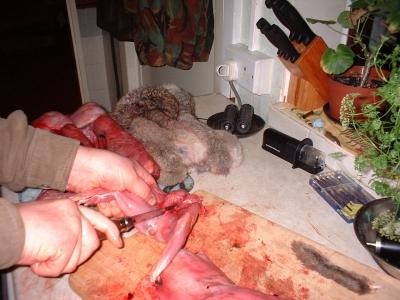
(above) 15. Remove both hind legs by cutting through the joint.
(above) 16. Cut through the body behind the ribs to remove the loin section.
(above) 17. Removing front legs from ribs .
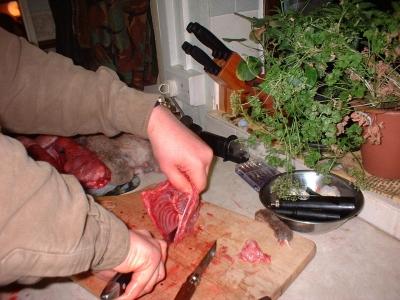
(above) 18. Open up the rib cage.
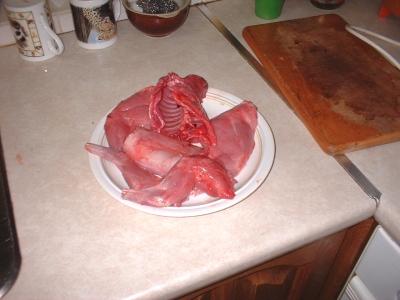
(above) 19. The jointed rabbit - soak overnight in salted water before cooking.
|