
How to make a purse net

Net making equipment. Needle for holding the twine - an 8" needle is best for rabbit purse nets. A mesh stick for measuring the size of the mesh. I prefer to use hemp for making my nets but you can use nylon which has the advantage of being rot proof. The drawcord, preferably braided nylon. Two 1" rings and a net peg, the peg can be hard wood, soft wood, metal or plastic. All these materials can be obtained from Arthur Carter Field Sports

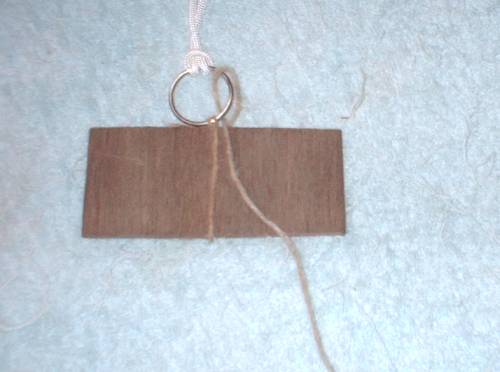
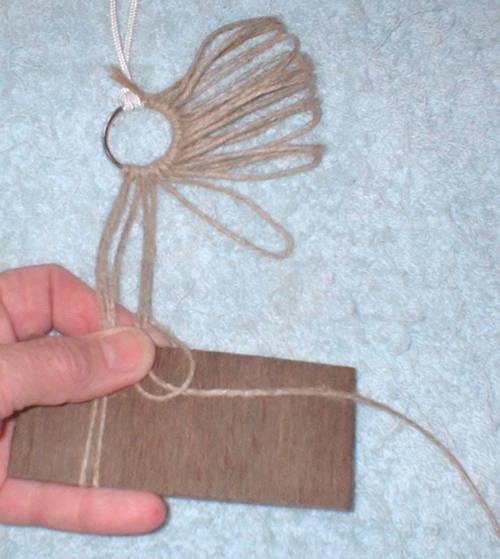
Secure ring to anchor point. Knot twine to ring.
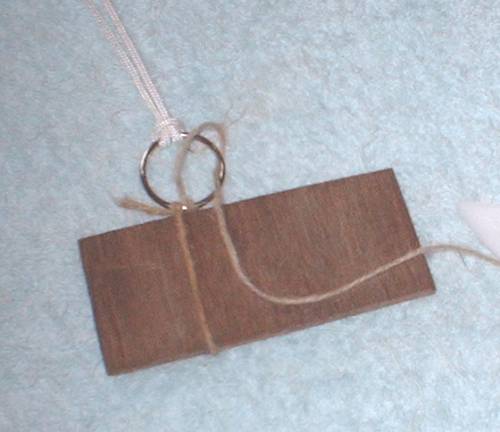
Hold the mesh stick in the left hand and the needle in your right hand; bring the needle over the top of the stick and then under it, bring it up between the stick and the ring. Then pass it down through the front of the ring, then bring it up between the stick and the two strands of twine. Pull the mesh stick close to the ring at this point. Place the thumb and forefinger of the left hand over the knot.
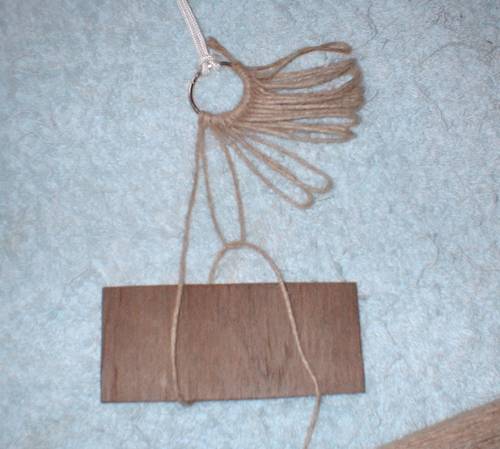
The mesh now needs to be locked. Make a loop and leave it loose, pass the needle through the ring again but this time from the back. Pass the needle through the loop and pull firmly to lock the knot. Repeat this until you have the required number meshes. The standard rabbit purse net is 15 to 16 meshes wide.

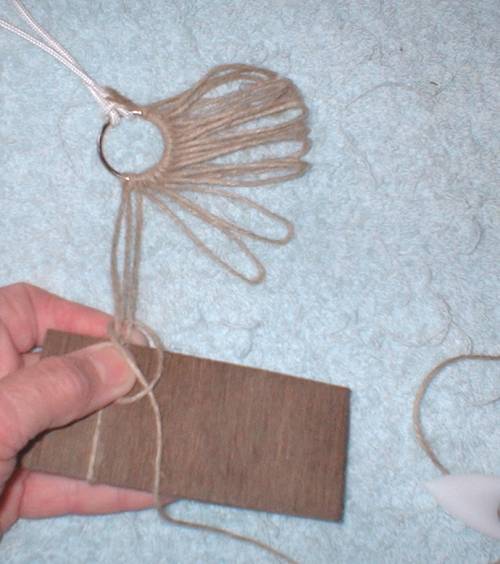
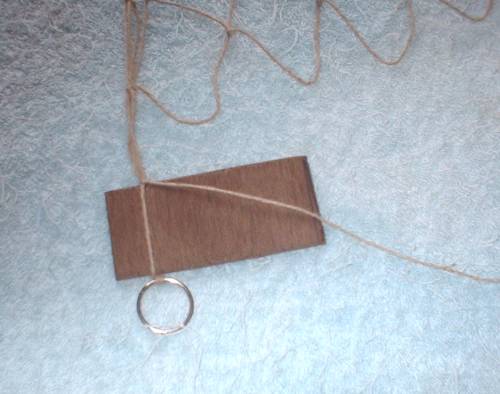
Gently ease the first row off the mesh stick
Turn the ring over so that you continue working left to right. Pass the needle under the mesh stick and back up through the first loop.
Pull the until the mesh stick is up to the bottom of the top mesh. Grip between thumb and forefinger. Pass the needle round the back of the first mesh and put the needle through the loop. Pull firmly to lock the knot. If you are using nylon you will need to repeat to make a doubt knot to prevent it from slipping.
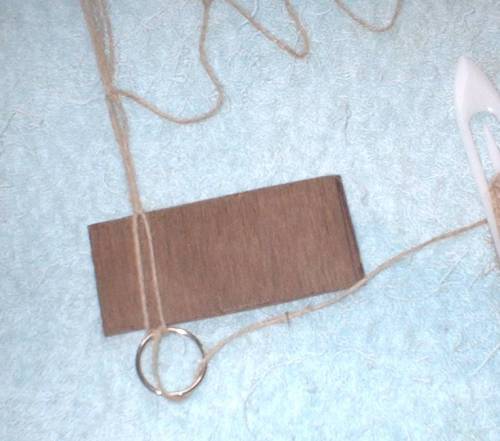
As above but the 2nd mesh.

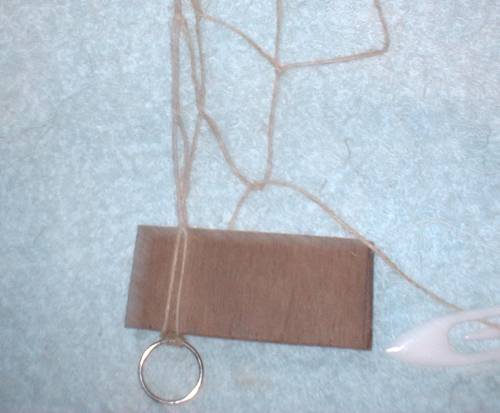
After completing the 2nd row. Repeat as per 2nd row until your work measures 36" i.e. 17 rows should be completed before securing the final row to the ring. To make a larger net increase the number of rows before casting off. When you run out of twine on the first needle you will need to join the twine to the next needle with lock knot. If possible have 1 or 2 needles ready loaded with twine so that you can carry on knitting.
When your net is the required length you will need to cast off - this can be done in several ways. The method shown is the one I prefer. I haven't shown the first mesh as it can be tricky getting the ring in the correct possition - an operation I couldn't do and take a photograph! However making the 2nd mesh is the same as the 1st one but without the tricky bit.

Pass the needle across the top of the mesh stick and down through the ring the pass the needle under the twine.
Make a loop, pass the needle up through the ring and then the loop, pull firmly to lock the knot.
Pass the needle under the mesh stick and up through the mesh and secure. Continue until all the meshes are fastened to the ring. Fasten off securely before cutting the twine - your net is now complete apart from adding the drawcord.
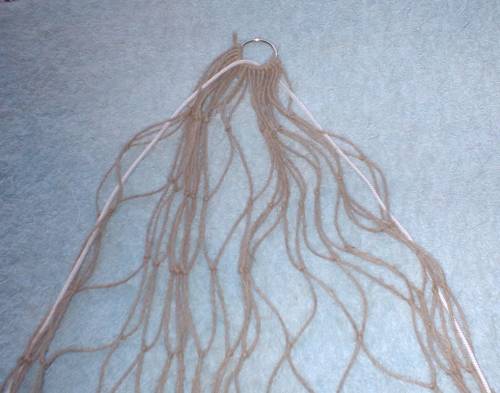
Hang the completed net from the anchor point. Make the drawcord twice the length of the net plus 3' to 4'. Pass the draw cord through the top ring and thread through the loops on both sides of the net.

Knot the cord below the ring and add a peg. Use a lighted match to seal the ends of the drawcord to stop them fraying if you are using nylon, taking care not to burn yourself. Your net is now finished.